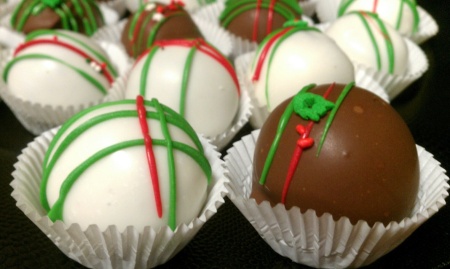
Christmas Cake Balls & Cake Pops Tutorial

It’s almost christmas!! Time has gone by so fast. Thanksgiving zoomed by and now it’s almost 2012!! As soon as school ended, I jumped into baking (as if I ever took a break while school was IN! Ha!). I updated this blog a little bit, printed a couple business cards, signed up for a couple fundraisers, and opened an online seller site with Big Cartel. I mass emailed and facebook spammed everyone with my advertising! I was determined to sell and ship these cake balls. I bought a couple boxes from UPS, stocked up on candy melts and sprinkles, then waited for the orders to come pouring in!! To my surprise, people started emailing, calling, ordering after a day of posting everything up. I made a total of 320 cakeballs/pops/cupcakes in a week and a half!! Yay! So thankful to everyone who have been supporting me. Whether it’s passing on my info, or ordering from me yourself, your help has been very much appreciated!! Catering..maybe just baking, is a tricky business. I have a lot to learn and I will definitely keep everyone updated on all the goods I find with my research.

Now that I have some down time and I (for once) didn’t forget to take pictures of my creations, I can start a tutorial on these cake pops/balls!!


Things you need:

  • Cake (if you don’t really bake..I suggest Duncan Hines Butter Cake or Devil’s Food mix)
  • Icing
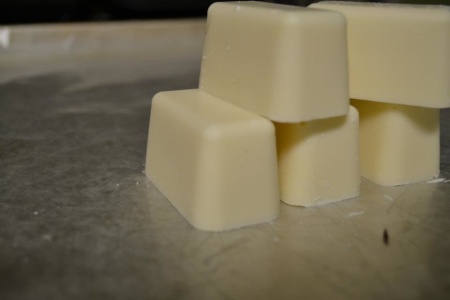
  • Wilton’s candy melts (or candy bark at your local grocery..sometimes these are better because they’re smoother/thinner)
  • Wax paper
  • Baking pan/tray
  • Deep microwavable bowl
  • Spoon
  • Lollipop sticks (if you’re making pops)
  • Styrofoam board (for pops), covered in foil
  • Sprinkles
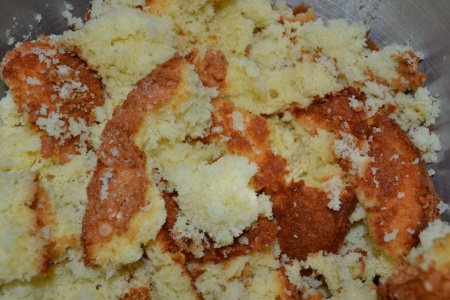
  1. Make sure your cake is cooled before you mix it with the icing or it will be sticky icky messy! (I would even crumble the cake into a bowl once it’s cooled and refrigerate for 5-10 min)
  2. Mix icing and crumbled cake, until a dough forms. I use 1/4 cup of icing with one 9-inch cake. Use a little frosting at a time unless you have extra cake that you can add in, just in case the dough is too wet, and vise versa, extra frosting for a dough that’s too dry.
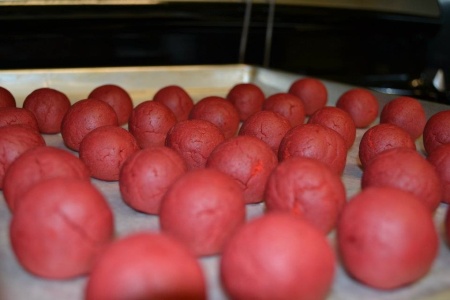
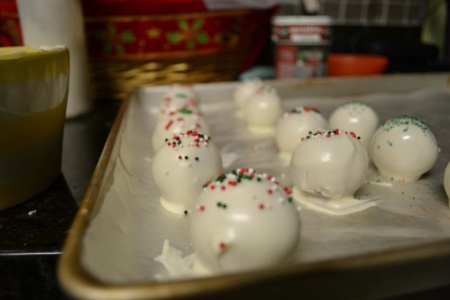
  3. Start forming the 1-inch balls and lay them on a baking tray lined with wax paper.
  4. Place the cake balls in the fridge for 5 minutes just to set the ball’s shape.
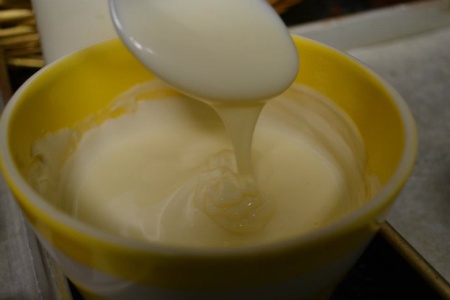
  5. Microwave the candy melts. It’s very very important to heat them at 30 second intervals, and mixing in between. The candy melts should be good to go after a total of 1:30 of heating.
  6. Make sure you have another tray lined with wax paper for the dipped cake balls.
  7. Dip the cake balls carefully in the chocolate, use the tip of the spoon to pick it up and lay it on the tray slowly. Tap excess chocolate off. Sometimes this isn’t necessary, if you just use the tip of the spoon, you can use the excess chocolate for uncovered spots (usually at the bottom of the ball where the spoon lifts from.) Use a toothpick to cut around extra chocolate. I got really specific here because I know how hard it is to get that smooth truffle look.  Be patient with yourself & keep practicing :)
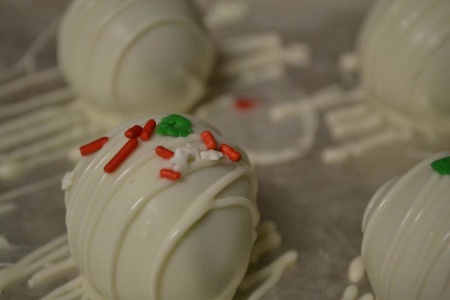
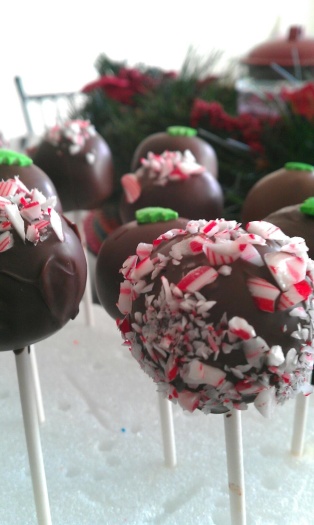
  8. The chocolate melts super fast as you’ll notice, so make sure you add the sprinkles right after you set down the cakeball. WITH CAKE POPS make sure you let the excess chocolate fall off and spin the stick around slowly as the pop dries so it’s smoother. You can dip this in the sprinkles ones it’s a little dry.
  9. DO NOT PUT CAKE BALLS IN THE FRIDGE/FREEZER. They’ll condensate and crack! 
  10. Cake balls/pops last up to a week unrefrigerated and inside an airtight container.

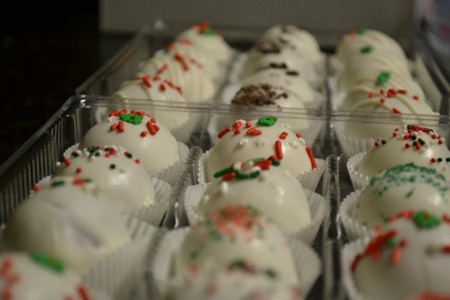
Wrap or place them in little truffle cups and ENJOY!!
 

National Cupcake Day!!!!

In honor of National Cupcake day, I’m posting up all the cupcakes I’ve made this year :). Baking is a continuous growth and learning process for me and I love it more with every cake, cupcake, & cake ball I make. Happy cupcaking!!

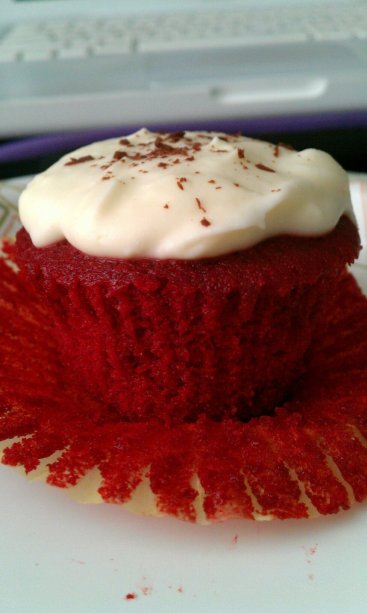
Red velvet! My favorite! The mascarpone cream made it even more rich and yummy!!

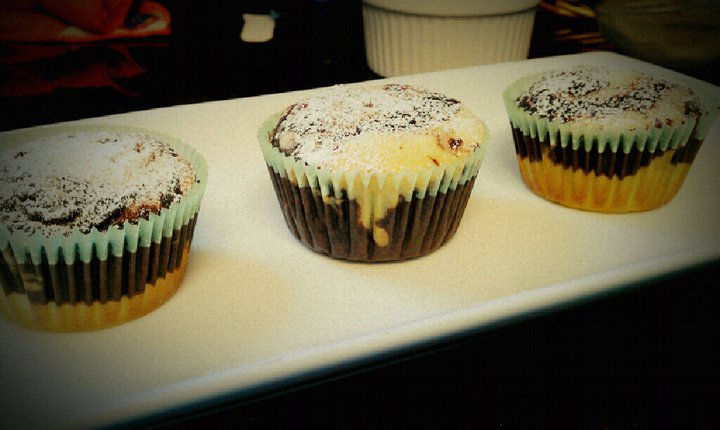
My first time making marble cupcakes. I thought it would be complicated considering it’s two different cakes (hesitant over thinker in me urggh), but I looked through different recipes and found that this cake is BEST with cake flour. So moist and just the right amount of sweet. I love that all you need is powdered sugar, no frosting. Simple yet classy.

Carrot cake is one of those more complicated, or maybe more work intensive cakes to bake. You’ve gotta grate the carrots, do some beating, some folding,..etc. but maybe what makes it so good is that it’s different, and so many ingredients go into it that make it that much more delicious!

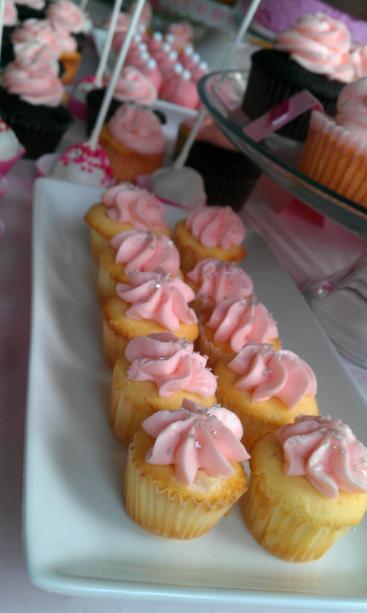
Vanilla butter cake. Vanilla and butter cakes are such a challenge for me. My recipes tend to fall flat and become “pound cake-y” I’ve tried so many recipes, some with butter, some with sour cream, cake flour, regular flour..etc.  I should really take some time to experiment with them. Give these cakes some love and find out why they become so much like pound cake. But hey, as long as the taste buds are pleased, they’ll do for now.

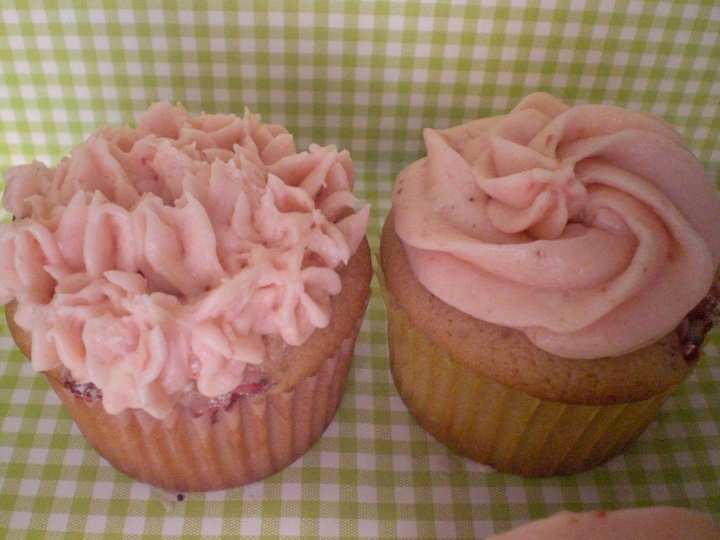
Strawberry cupcakes. Don’t mind the ugly icing work on the left one :) These were more like muffins than cake.  Moist, and delicious right out of the oven. I’m glad I folded in strawberries for the extra texture and flavor, I didn’t have strawberry flavor (extract), but this worked!

Halloween!  I found these wrappers and toppers at William-Sonoma one day and made sure not to forget about them when halloween came around (ha!).  I usually forget I have stuff that I buy throughout the year (on sale or something) and the holidays pass and then I remember them! Luckily halloween was kind of a big deal for the kids this year. We had lots of activities and so there were lots of cupcakes! These were vanilla cake with marshmallow vanilla swiss meringue icing. (That’s a mouthful…of icing!! ^_^

My holiday cupcakes aren’t out yet. I’m working on red velvet christmas cupcakes and I’ll definitely post those up asap!

Happy National Cupcake Day!!! Dust off your mixers and whip some yummy cupcakes up!

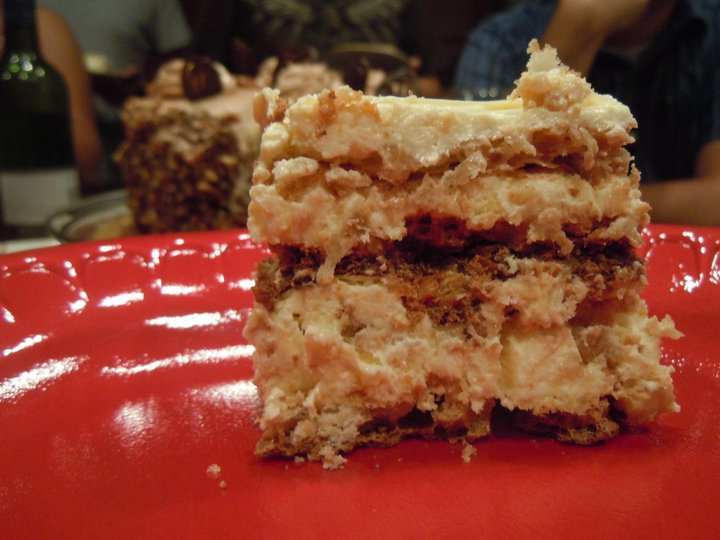
Sans Rival.

Ingredients

  • 12 egg whites (set 12 egg yolks aside for buttercream)
  • 2 cups white sugar
  • 1 tsp. cream of tartar
  • 3 cups (plus a couple tablespoons for topping,) finely ground cashews

Directions

  1. Preheat oven to 300 degrees F (150 degrees C). Line 4 – 8×12 inch pans with parchment paper. I also butter(or use shortening) and flour. The safer the better!
  2. In a large glass or metal mixing bowl, beat egg whites with whisk attachment until foamy. Sprinkle with cream of tartar. Gradually add 2 cups white sugar, continuing to beat until stiff peaks form not hard but when you lift the whisk, there should be little peaks that point up and don’t fall)
  3. Fold in 2 cups ground cashews. Divide meringue between the 4 pans, and spread evenly to edges.
  4. Bake in preheated oven for 30-45 minutes, until light golden brown. The meringue needs to almost be crunchy. I tend to leave them in the oven for longer if I see that they’re still soft. Check the edges and bottom to make sure they’re not burnt.
  5. Remove pans from the oven and allow them to cool. When cool, trim edges so that all 4 meringue layers are uniformly shaped. Set aside.

Part 2:  I use Classic French Buttercream recipe with less sugar.
-1 pound (2 cups or 4 sticks) unsalted butter, softened at room temp. (you probably won’t need it all)
-12 egg yolks
-1 & 1/2 cup white sugar
-1/2 cup water
-Candy thermometer
-2 tablespoons dark rum (optional)

1. In mixing bowl, whisk egg yolks until thick and lemon colored.
2. In a saucepan heat water and sugar on medium high heat and bring to a boil. Heat until thermometer has reached 270 degrees, or until a small amount of syrup dropped into cold water forms hard but pliable threads.
3. Get a big bowl of ice water ready. Once sugar syrup has reached 270 deg., hold pot over ice water so it stops cooking. This helps you with not burning the sugar and this way you don’t have to rush over to the mixer to pour in the HOT syrup.
4. Pour the syrup into the yolks in a thin stream while mixing on medium speed. Pour just between the whisk and the side of the bowl.
5. Switch to high speed and continue mixing until the mixture is cool to the touch. You can also hand mix this over the ice bath.
6. It’s *important* that the mixture is cool to the touch before you put in the butter because this will help hold everything and keep the butter from melting and ruining the icing.
7. cut up 1 inch chunks of the butter and drop in the mix one at a time. You can switch to the paddle attachment for this. Beat in the rum.
8. Add buttercream to each layer of meringue and then outside like a  cake and sprinkle left over cashews for decoration.

Putting the sans rival in the fridge makes it taste even better!! Enjoy!

Easy Tiramisu & Truffles

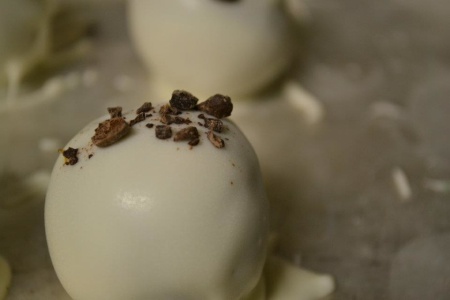
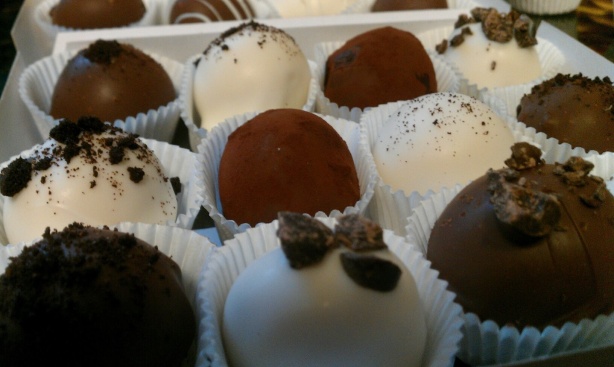
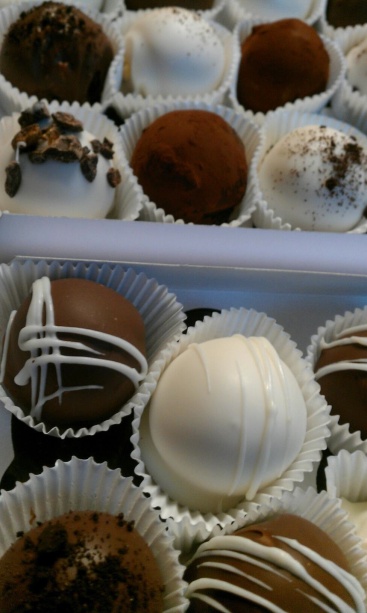
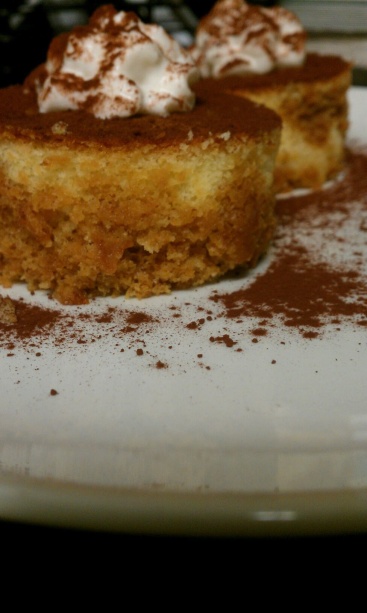
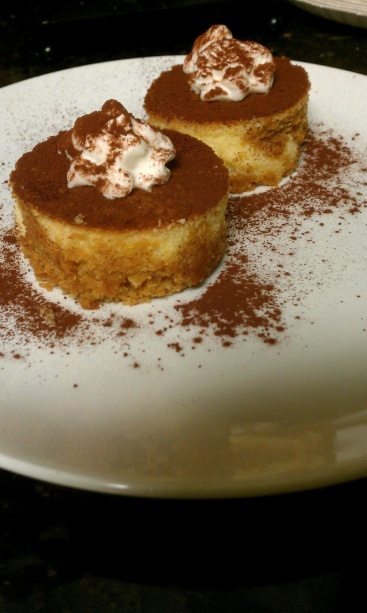
I’m a huge fan of Tiramisu by Tasty Pastry here in Alpharetta and I’ve always wanted to perfect the authentic Tiramisu recipe with the chiffon cake at the bottom, not the lady fingers kind (yuck). Unfortuntely, I’ve tried once and failed miserably and I haven’t had time to try again! I was thinking of ways to incorporate coffee into the cakeballs and I guess it really wasn’t that hard to come up with the solution! Butter cake moistened with coffee!! I used vanilla frosting to bring the dough together and wa-la! Tiramisu Cake Pops/balls. The butter cake is perfect with the coffee(black) and with vanilla frosting, it comes together perfectly. I used dark chocolate candy melts and white chocolate candy bark for dipping.


 I also had some left over butter cake so I figured I could try soaking them in coffee and sprinkling cocoa powder on top to make mini tiramisus!!

Gobble Gobble Pops

Belated Happy Turkey Day!!! I hope everyone had a wonderful Thanksgiving with lots of turkey and yummy comfort food!! I love the holidays!! I have such a huge family, and a lot of us have birthdays before,during, and after the holidays, so it’s non stop feasting from halloween to the new year!! I told everyone at this time of the year I get ready for hibernation with the bears because we just keep eating!!

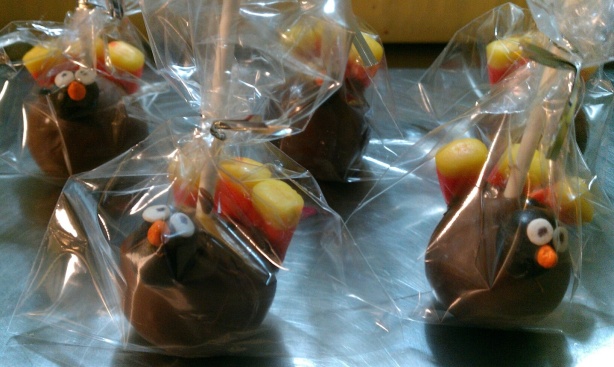
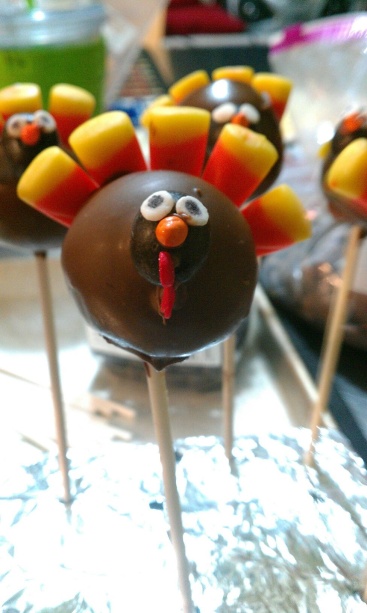
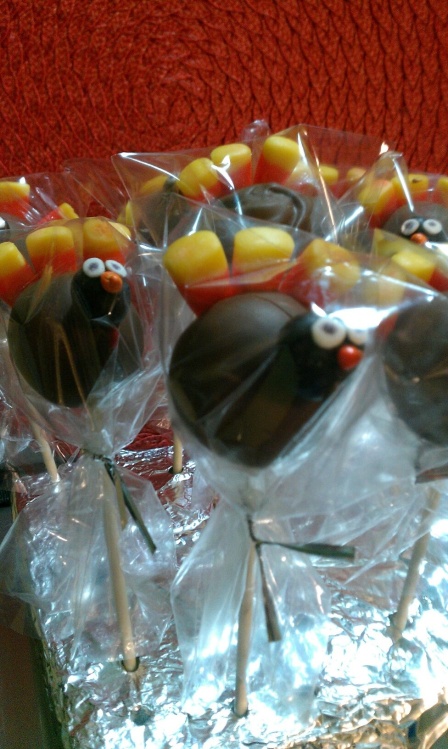
For thanksgiving I made 45 of these turkey cake pops for my little brother’s kindergarten class. Need less to say, I was pooped after the 20th but these cute little gobblers are so worth it after seeing the look on those kiddies faces!! It wouldn’t have been pretty if I didn’t make one cake pop for each little boy or girl. The parents definitely loved them even though at first glance I’m sure all they could think was,”oh my hyper 5 year old..”

The cake pops were oreo and red velvet.
Candy corn for the feathers.
Chocolate covered coffee bean for the face
Sprinkles dotted with edible pen for eyes
coated chocolate chip sprinkles for nose.